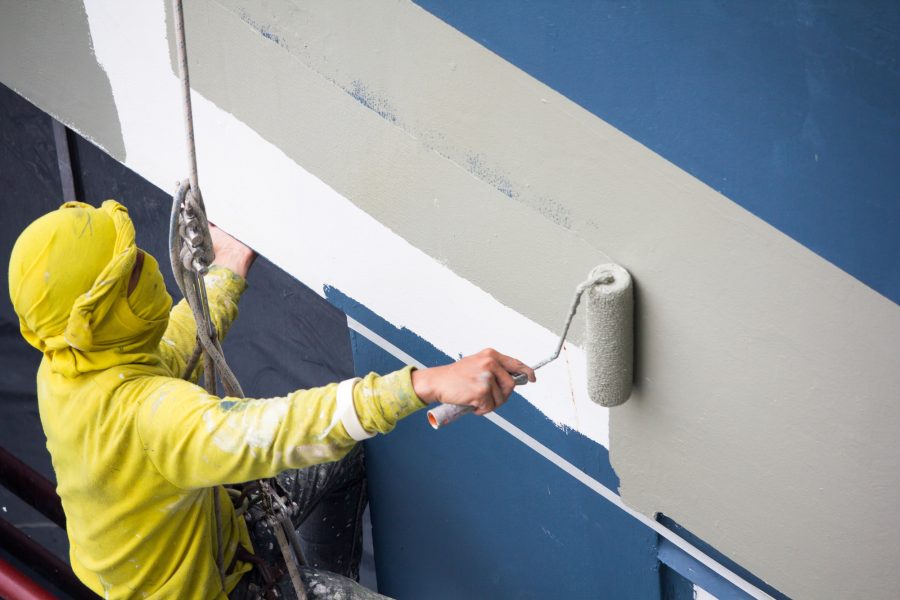
When it comes to making a good first impression for your business, the exterior paint job is critical. Chipped, faded, or dated paint gives potential customers the impression that your company is not professional, modern, or successful. A new coat of exterior paint can make your business premises look well-kept, inviting, and up-to-date – something that can really boost your company’s image and attract new clientele.
The key to achieving great results from an exterior paint job is proper preparation. Preparing properly not only makes the painting process smoother but helps ensure you get a high-quality, durable finish that protects and beautifies your building.
This article shall walk you through all the essential steps for preparing your business premises to ensure your exterior paint job meets your expectations and gives your company an updated, professional look.
Hire Professional Exterior Painting Contractors
While DIY painting may seem like an option, your business premises deserve more than an amateur paint job. Thus, it’s recommended to hire professional exterior painting contractors Madison Wi that specialise in commercial spaces. Experienced commercial painters have the skills, equipment, and expertise to prep and paint your building’s exterior surfaces properly.
They know the right materials and techniques to use on stucco, brick, wood, vinyl siding, and other commercial materials to get the best, longest-lasting results. Professional painters also work efficiently to minimise disruption to your business. Make sure to check reviews, verify licensing and insurance, and get an itemised estimate. Investing in qualified commercial painters ensures your paint job meets the highest quality standards and transforms your business image.
Clear the Area and Protect Surfaces
Before painting can begin, you need to clear any movable items away from the exterior walls to provide the painters with clear access. This includes clearing gutters and removing decorations, planters, signs, etc.
Ensure any fixtures protruding from walls, like vents, lights, cables, etc, are also protected. You can use masking tape and plastic sheeting to cover these items and prevent paint splatters. Any surfaces you do not want to be painted, like windows, doors, trim, or landscaping, should also be properly masked off. Proper preparation will minimise messy overspray and keep these surfaces clean.
Wash and Prepare Walls
Thoroughly cleaning exterior walls before painting is crucial for proper paint adhesion. Use a pressure washer or scrub walls with soap and water to remove dirt, mildew, and chalking paint. Rinse thoroughly and allow walls to fully dry before painting.
Check for any cracks, holes or imperfections in the walls that require patching and repair them with spackle or caulk. Sand glossy surfaces lightly to help the new paint stick. Any loose, peeling or flaking paint should be properly scraped and sanded smooth. Proper cleaning and wall preparation creates the ideal surface for your fresh paint.
Replace Rotten Wood
Inspect exterior walls, trim, railings, and shutters and replace any rotten, cracked or damaged wood. Scrape away loose splinters, then use wood filler or epoxy on small holes and dents before sanding them smooth. Larger damaged sections will need new wood pieces installed and properly sealed. Replacing rotten wood prior to painting ensures your fresh paint job is not wasted on damaged materials underneath.
Prime Bare Wood and Patches
Once you’ve prepped the exterior surfaces, it’s time to focus on any exposed bare wood or newly patched sections. These areas are thirsty and porous compared to your existing painted exterior surfaces. If you start painting right away, the wood and patches will soak up all the paint unevenly. You’ll end up having to use extra coats just to get proper coverage. That’s wasted time and money. The solution? Use high-quality exterior primer on any bare wood, repair cracks, replace siding, or patch holes before you start painting.
The primer seals and evens out the porosity and creates a uniform surface. It allows the new paint to glide on smoothly without getting soaked up. Priming makes sure your fresh exterior paint sticks well and covers evenly for a flawless, uniform look that makes your building facade look its best.
Seal All Gaps and Cracks with Caulk
Take a close look at your exterior surfaces – do you notice any cracks, seams, or gaps around windows, trim, railings, lights, downspouts, or other areas? Any tiny openings can allow water to seep in behind your fancy new paint job. And water getting behind the paint is a recipe for problems like peeling, bubbling, and rotting. It’s definitely not the look you want for your business!
Don’t ignore small gaps – take time to properly seal them with a high-quality exterior caulk before painting begins. Caulking creates a watertight seal to protect your building. It also gives your exterior paint job a flawless, polished look by smoothing out uneven transitions between surfaces. Caulking gaps and seams may take a bit of time upfront, but it prevents major headaches down the road. Don’t cut corners here – proper caulking is a key step for a long-lasting, professional paint job.
Power Wash Away Dirt and Grime
Has it been a while since your building’s siding saw some tender loving care? Take a moment to notice any dirty spots, staining, chalky areas, mildew, or other grime that may have built up on your exterior siding over time. All those years of rain, pollution, dust and more can really dull down your building’s appearance.
Don’t paint over dirt and grime! That will just seal in stains and ruin the fresh look you want. Instead, break out the power washer and give your vinyl, wood, metal or other siding a good cleansing before painting. Adjust the pressure so it’s strong enough to clean but won’t damage surfaces. Scrub off stubborn spots, and be sure to rinse thoroughly to eliminate any soap residue.
Let all siding dry completely before applying primer and paint. Power washing revitalises and refreshes your building while allowing the new paint to adhere better.
Schedule Painting at Optimal Time
Ideally, exterior painting should be scheduled during dry weather when no rain is forecasted for several days after completion. Temperatures should be above 50°F both during application and for several hours afterwards as paint dries. Low humidity is also preferred to allow proper curing. Scheduling painting during optimal weather prevents frustrating delays and damage to freshly painted surfaces.
Discuss Plans and Expectations
Prior to starting work, meet with the painting contractor and walk around your building exterior to discuss plans. Point out any problem areas needing special attention and discuss your expectations. Cover preparation methods, materials, paint colours, finish options and sheen, projected timeline, warranties and any other specifics. Establish a clear understanding to help ensure the job meets your standards and achieve the curb appeal you want for your business.
Key Takeaway
Preparing your business premises properly prior to an exterior paint job requires an investment of time and effort. However, the work you put in prior to the painters’ arrival will pay dividends through a smoother process and longer-lasting, higher-quality paint finish. So, take steps to adequately prepare exterior surfaces using these helpful tips, and you can look forward to a fresh, professional paint job you will be proud of for years to come. Following proper preparation and best practices ensures your new exterior paint enhances your company’s image and stands the test of time through all types of weather.